Introduction
A solar system looks simple once it is on the roof. Behind it sits a long chain of decisions, approvals, purchases and site work, and a delay at any point pushes back everything that follows. Understanding the Solar EPC workflow, from the first customer enquiry to a working installation, helps a company plan better, quote more accurately and avoid the surprises that eat into margins.
This guide walks through each stage in the order it happens, who usually owns it and what should be ready before the project moves on. It is written for EPC owners, project managers and sales teams, with the GCC market in mind.
Short answer: The Solar EPC workflow runs through eight stages: lead qualification, site survey, design and BOQ, proposal and contract, approvals, procurement, installation, and commissioning with handover. Each stage produces something the next one depends on, so a clean handoff at every step is what keeps a project on time and on budget.
What does EPC mean in solar?
EPC stands for engineering, procurement and construction. An EPC company takes responsibility for the whole project: it designs the system, buys the equipment and builds it on site, then delivers a working plant to the customer. The customer deals with one company instead of coordinating designers, suppliers and installers separately.
Stage 1: Lead capture and qualification
Everything starts with an enquiry, whether from the website, a phone call, a referral or a walk in. The sales team records it, checks whether the customer is a good fit and learns the basics: type of property, monthly electricity bill, roof access and budget. Good qualification saves survey visits for customers who are genuinely ready.
Ready to move on when: the lead has an owner, the customer’s need is understood and a survey visit is booked.
Stage 2: Site survey
An engineer visits the site to check roof or ground condition, structure, orientation, shading, the electrical panel, meter location and possible cable routes. Photos and measurements taken here feed every later stage, so accuracy matters more than speed.
Ready to move on when: measurements, photos and electrical details are recorded in one place and reviewed by the design team.
Stage 3: System design and BOQ
Using the survey data, engineers decide the system size, panel and inverter selection, layout, string configuration, protection and earthing. The output is a set of drawings, including a single line diagram, and a bill of quantities listing every item and its quantity.
Ready to move on when: the design is reviewed and the BOQ matches the drawings.
Stage 4: Proposal and contract
The proposal turns the design into something the customer can judge: system size, expected generation, cost, payback, warranties, timeline and payment terms. Once the customer agrees, a contract is signed and the advance payment is usually collected. From this point the project becomes a commitment with dates and costs attached.
Ready to move on when: the contract is signed, the advance is received and the final BOQ is locked.
Stage 5: Approvals and permits
Most projects need permission before installation begins. Depending on the country and the utility, this can include interconnection or net metering applications and building or municipality approvals. Rules and timelines differ, so it pays to start early and keep every document organised, because this stage is often the least predictable part of the schedule.
Ready to move on when: all required approvals are received, or the project has a confirmed plan for when they will be.
Stage 6: Procurement and logistics
The BOQ becomes purchase orders. The team confirms supplier lead times, tracks deliveries and arranges storage and transport to the site. Panels, inverters, structures and cables rarely arrive together, so the schedule should reflect what is actually delivered, not what was ordered.
Ready to move on when: critical materials are on hand or confirmed for delivery before the crew arrives.
Stage 7: Installation
The crew installs the mounting structure, panels, DC and AC wiring, inverter, protection devices and earthing, following the approved design and safety rules. A site supervisor reports progress daily and records any change from the drawings, so the final documents reflect what was really built.
Ready to move on when: installation is complete, checked against the design and the supervisor has signed off the work.
Stage 8: Testing, commissioning and handover
Before switching on, the team inspects and tests the system. Once the utility completes any required inspection or meter work, the plant is commissioned and monitoring is set up. The customer then receives a handover pack with drawings, equipment datasheets, warranty details and basic operating guidance. The final invoice is issued and the project moves into maintenance and support.
Project is closed when: the system is running, the customer has the documents and the final payment is raised.
Why the handoffs matter more than the stages
Each stage hands something to the next: the survey feeds the design, the design feeds the BOQ, the BOQ feeds procurement, and the approved drawings guide the crew. When that information is retyped or lost along the way, mistakes appear late and cost more to fix. Most workflow problems in Solar EPC are really handoff problems.
How software supports the workflow
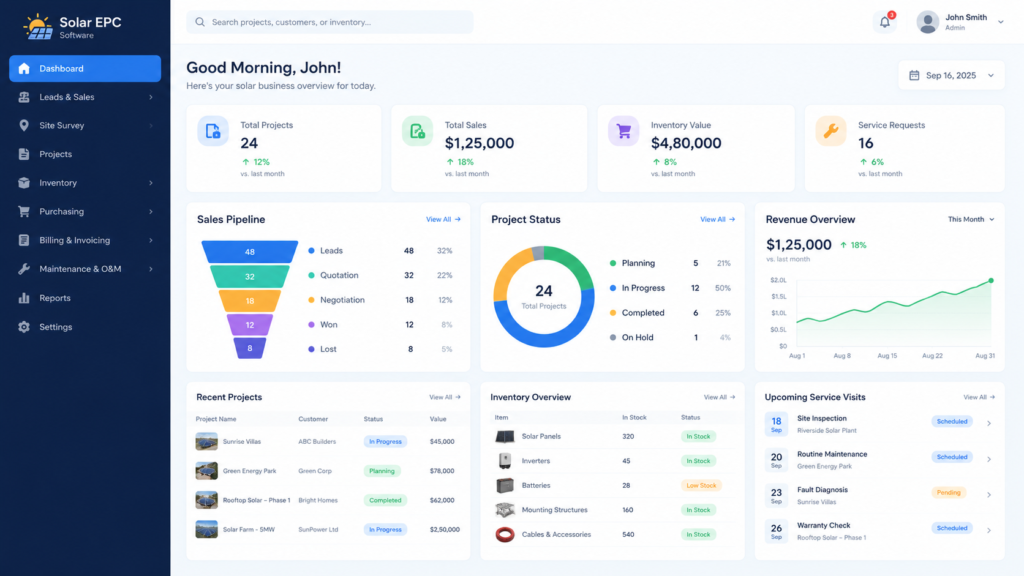
A Solar EPC platform keeps one record moving through all eight stages, so the survey data, design, BOQ, approvals, stock, site reports and invoices sit together. Managers see where each project stands, and nobody has to ask around for the latest version of a document.
At Kode Karigar, we build Solar EPC software for companies in Bahrain and the wider GCC that want this whole journey in one connected system. If you are handling many projects at once, our guide on managing 100+ solar EPC projects goes deeper, and our article on the 10 problems Solar EPC companies face with manual management shows what to watch for.

Conclusion
A clear workflow will not remove every delay, but it makes each one visible early and easier to fix. Define what must be ready at each stage, keep the information in one place, and your team will spend less time chasing and more time building. If you want to see how this could look for your own projects, talk to Kode Karigar and ask for a walkthrough built around your process.